Windows Server 2019 is out now for a couple of months now, and some of you may be interested in playing with it. When you first install it, you can test it for 180 days (so-called Grace Period) after which you need to activate it with a proper production license.
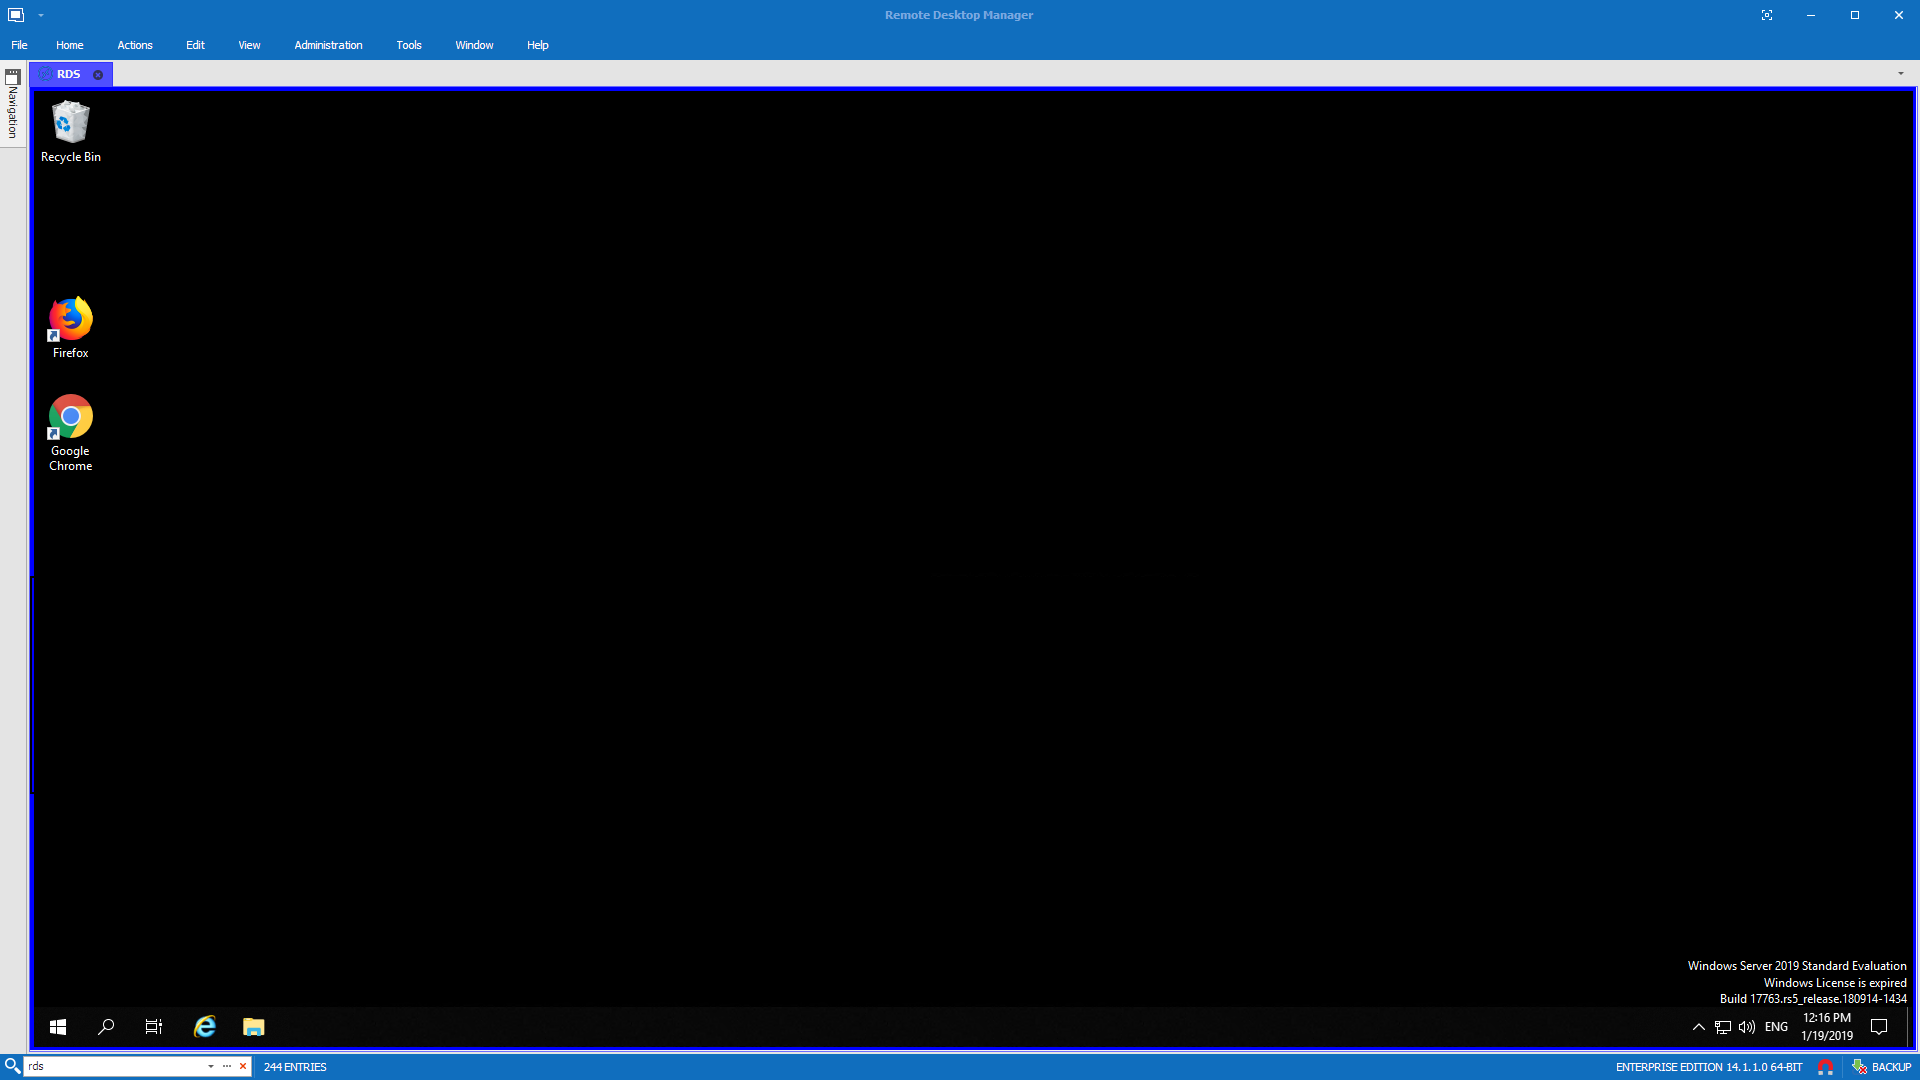
When installed Windows 2019 gives you 180 days to use. After that time in the right bottom corner, you will be greeted with message Windows License is expired and your Windows Server machine will start shutting down. You can start it up again, but after a while, another shutdown will occur. Normally before the trial license expires you should activate it with a proper license. But there are many reasons why you may want to run Trial version for a little longer. Fortunately, there are a couple of steps that we can do to make it work for a longer period of time. Microsoft allows you to extend that trial period six times. Of course, this is only permitted in testing environments, and not in production for which you require a proper license key.
💡 How to extend Windows Server 2019 Evaluation
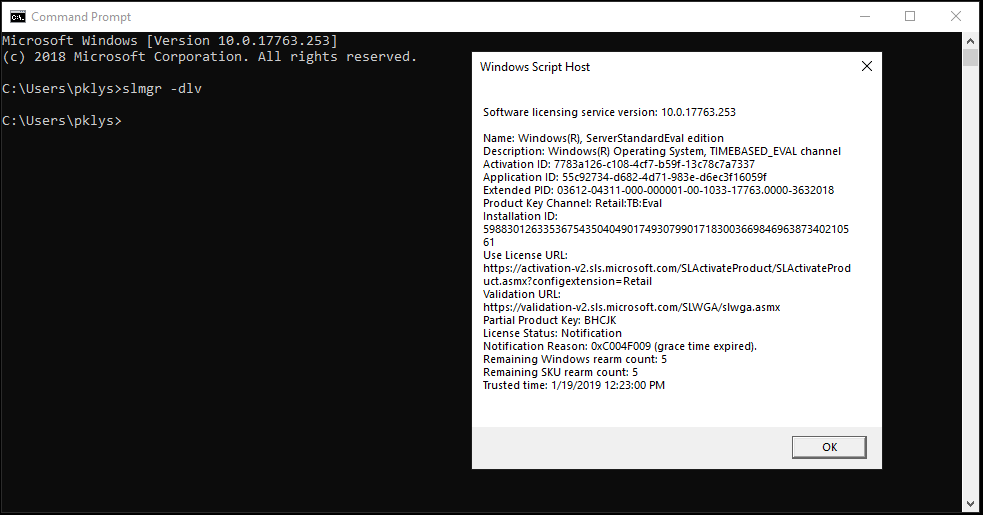
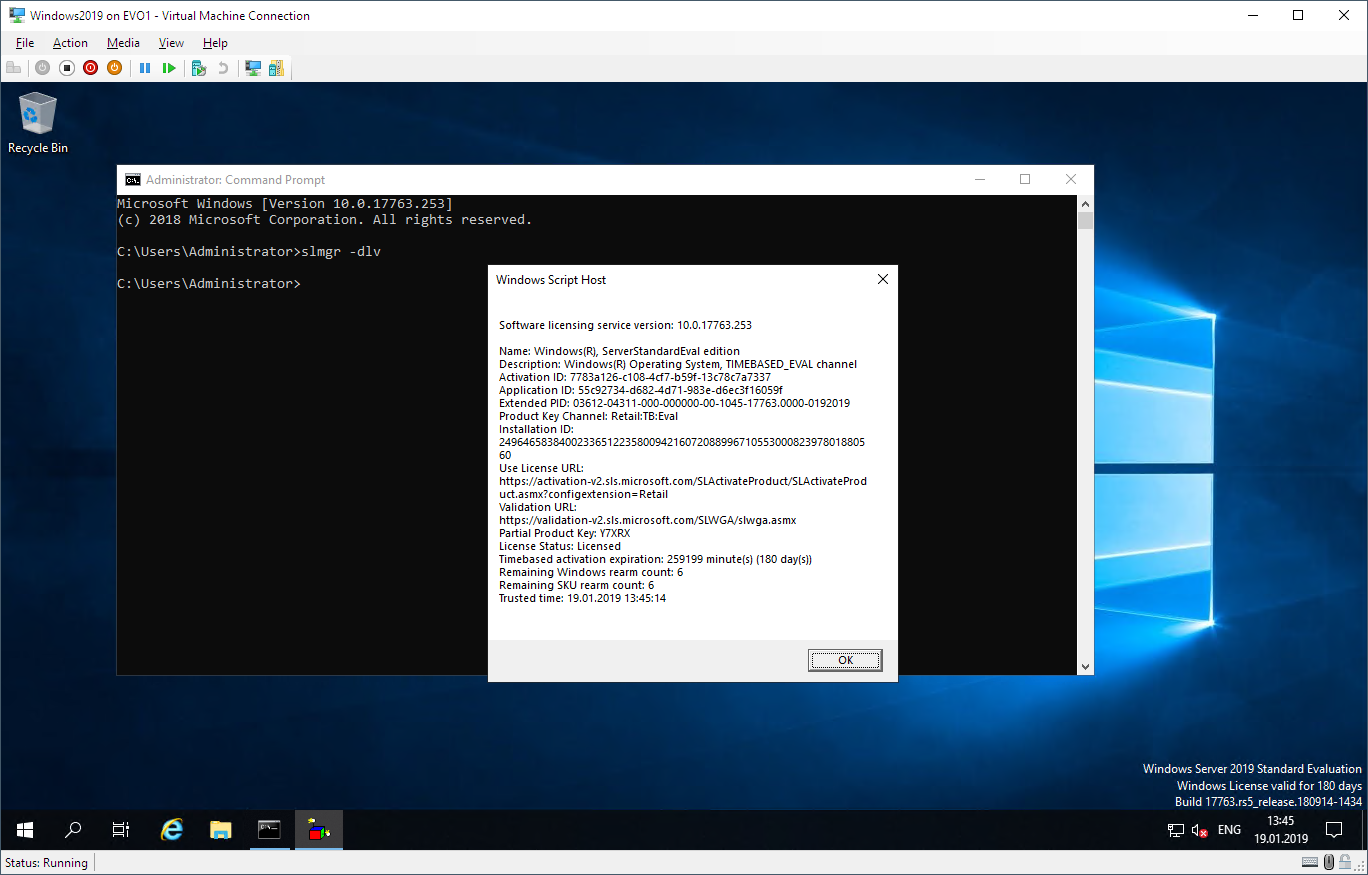
First we need to check current license status. We can do this using slmgr command with DLV switch.
slmgr -dlv
As you can see above the license was already activated one time since the counter of remaining Windows rearm is showing five more activations. Now we need to run slmgr with rearm switch in PowerShell or CommandLine Window and finally make a reboot for the Windows license to activate. Remember that it has to run as Administrator.
slmgr -rearm
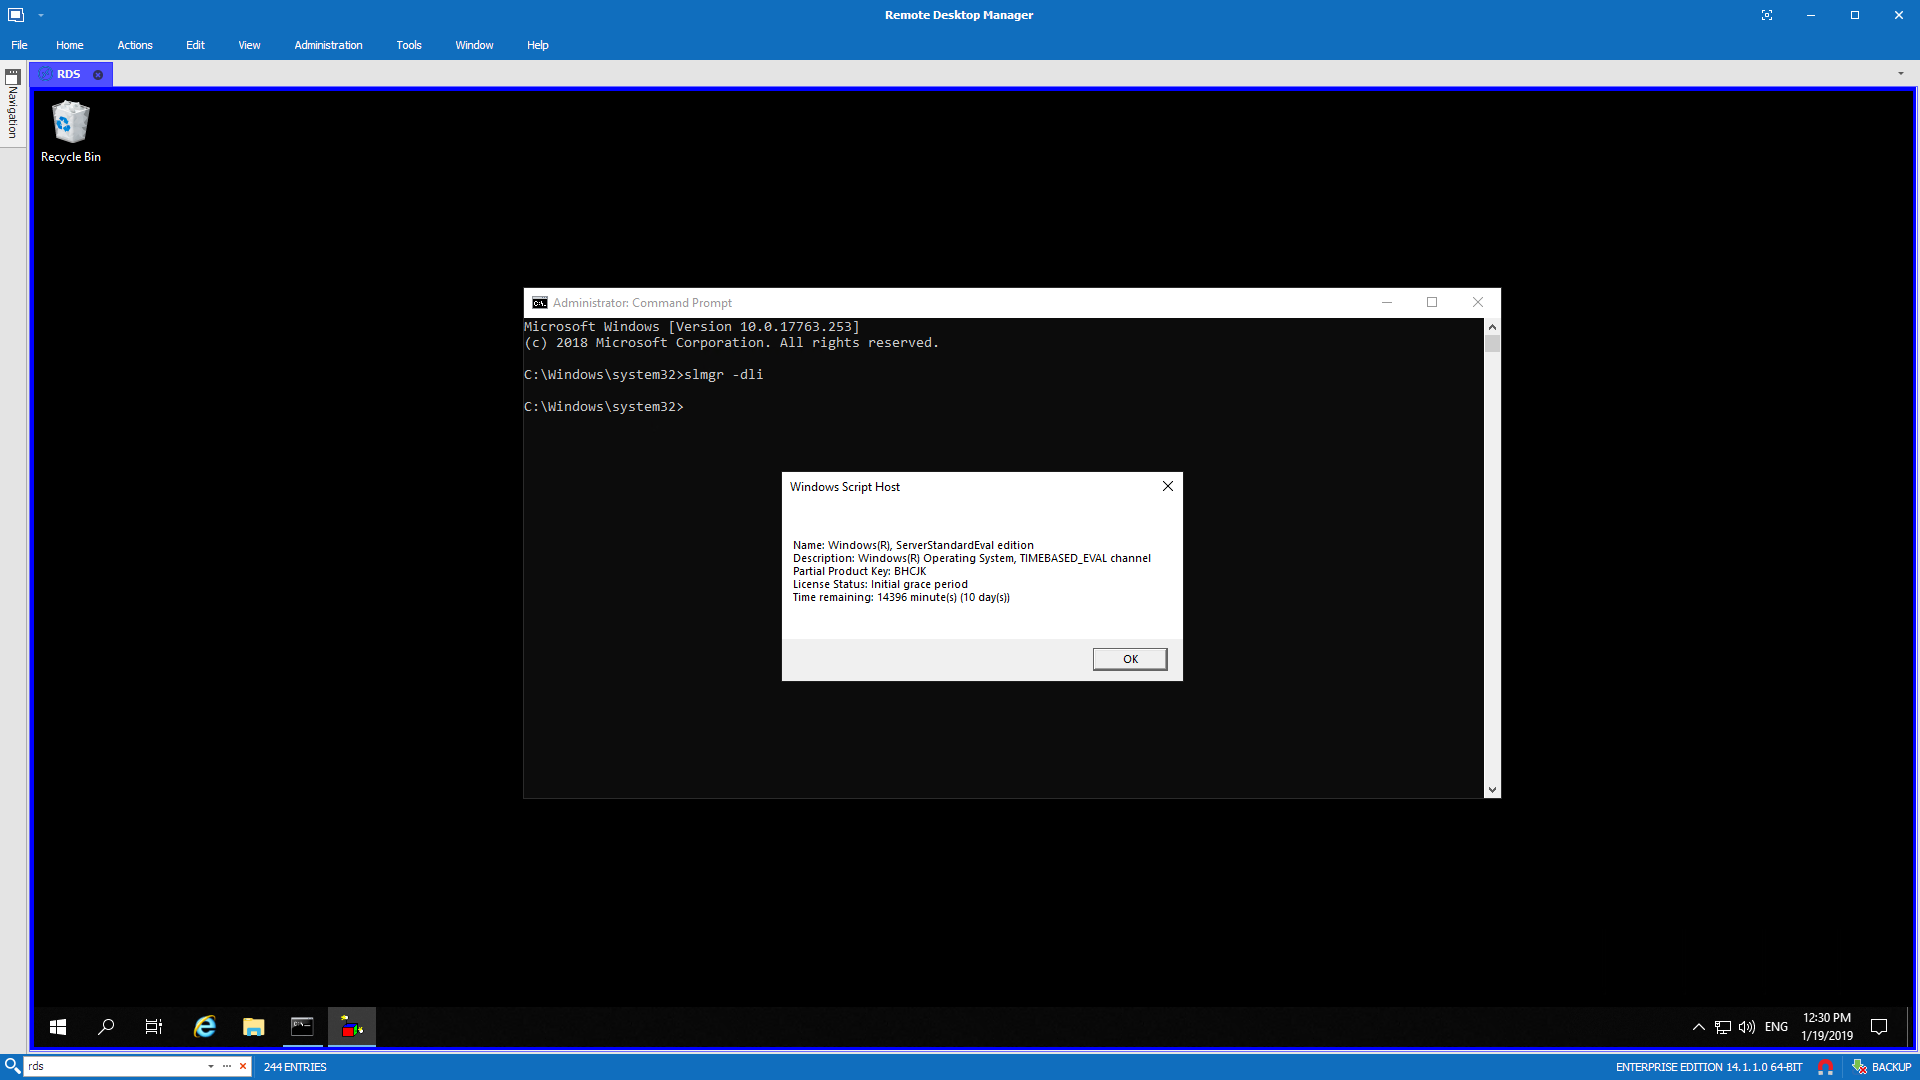
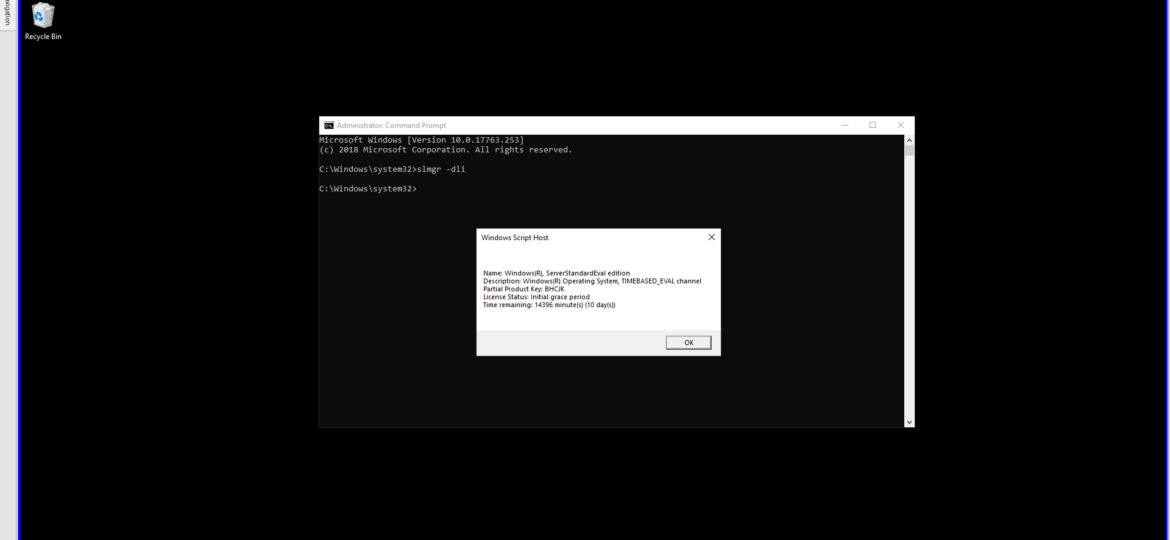
After reboot message from bottom right corner should be no more and license extended. We just need to quickly verify this with slmgr using DLI switch.
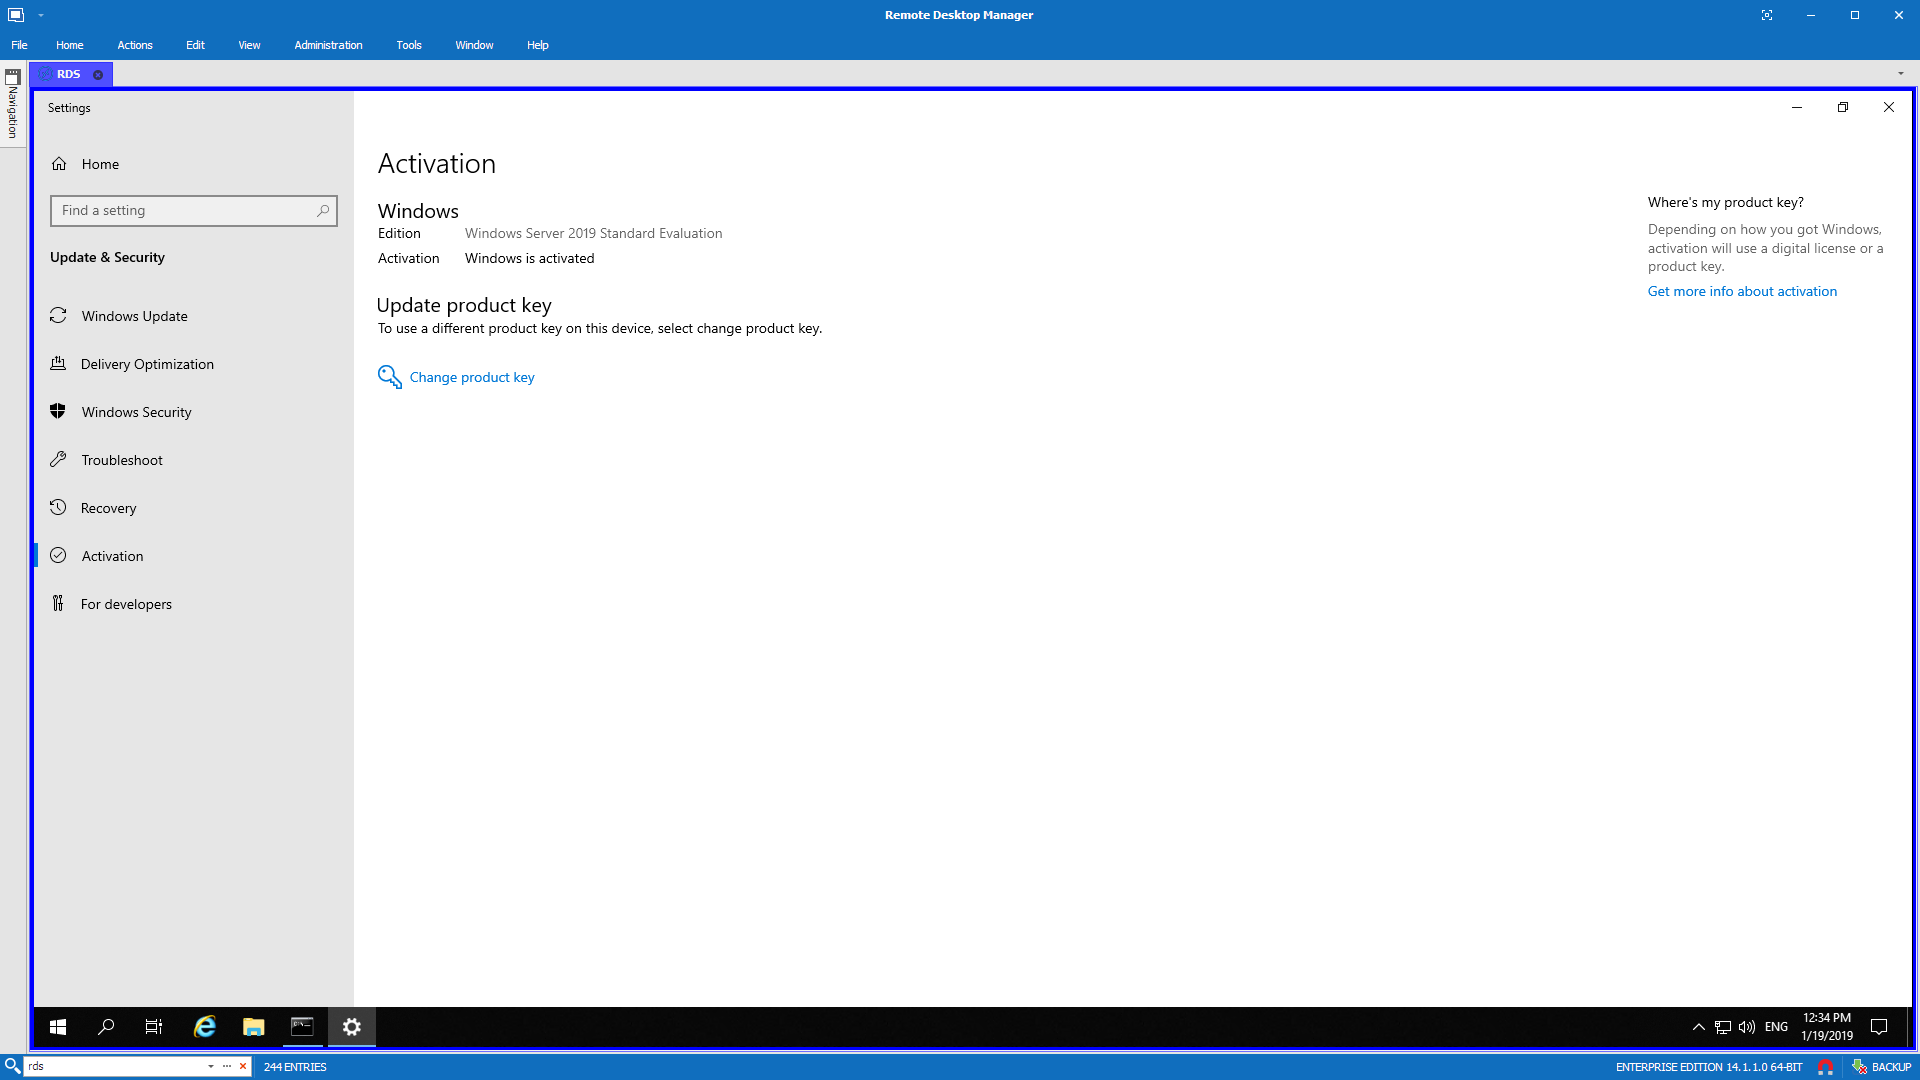
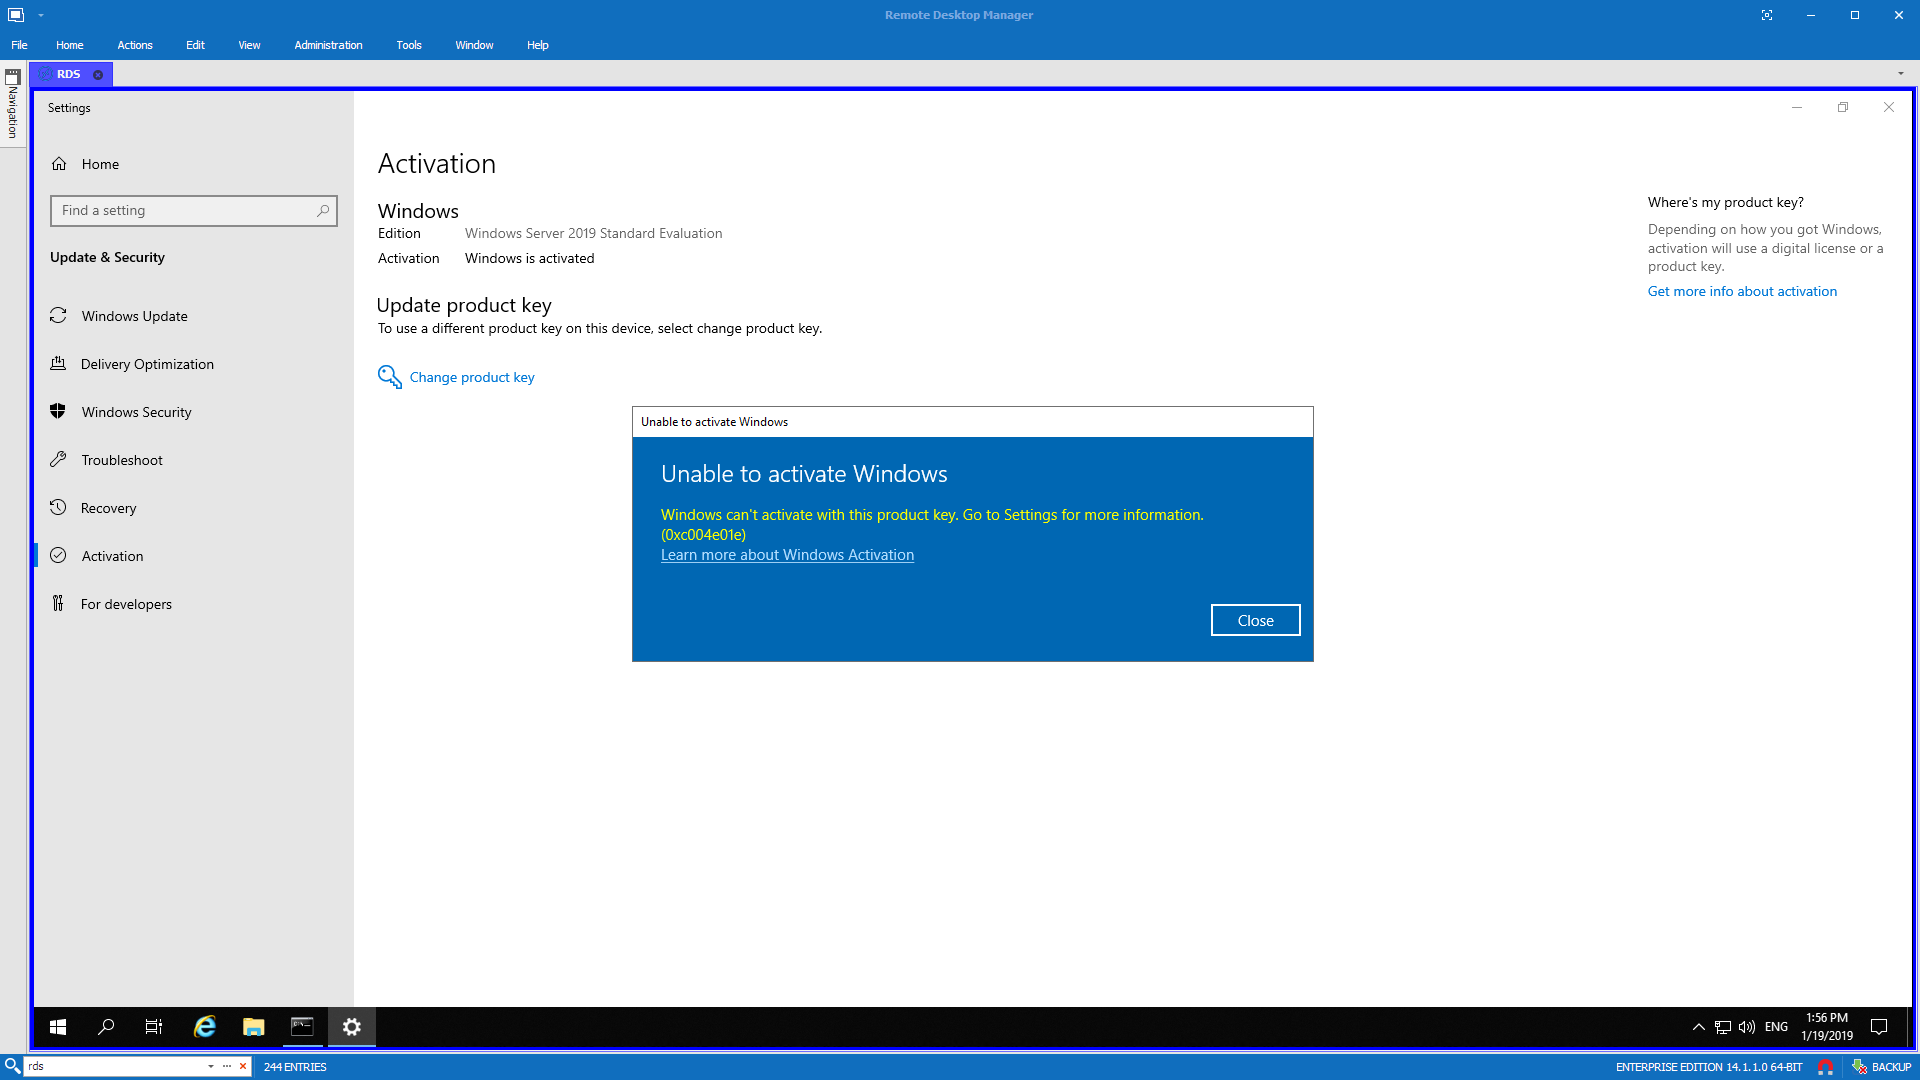
As you can see license is now activated for 180 days, err 10 days. In normal circumstances, you would just have another 180 days period and you could extend this 5 more times, which is quite a long time. Something that only testing environment or a lab usage might explain. In my case, however, I was greeted with just 10 days. It also says Initial grace period. Not what I expected, and it makes sense why the remaining count was showing five activations left because I've already activated it once thinking that I'm good for 180 days! We can also verify this on the Activation window but that doesn't give us details. It says it's activated but at the same time only for 10 days.
💡 Changing initial grace period into full grace period
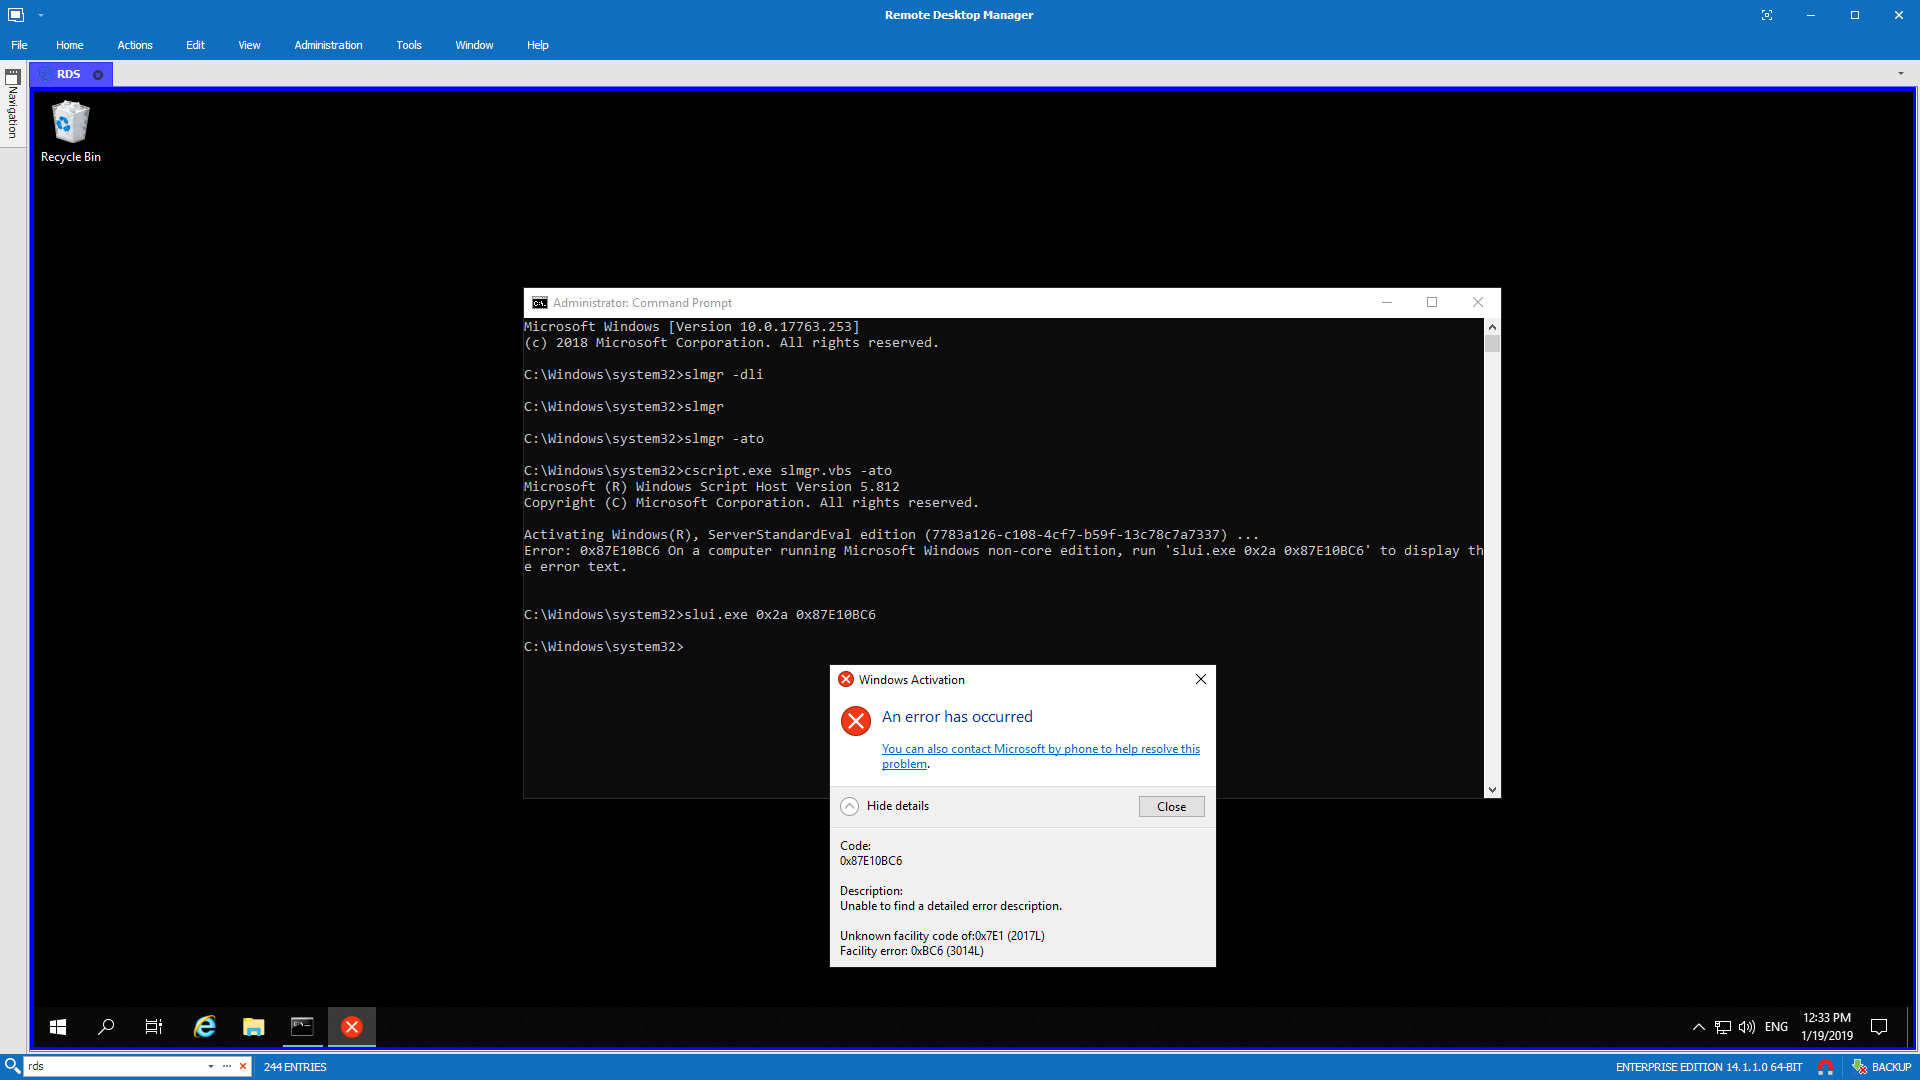
My first thought was that I need to activate it online using ATO switch.
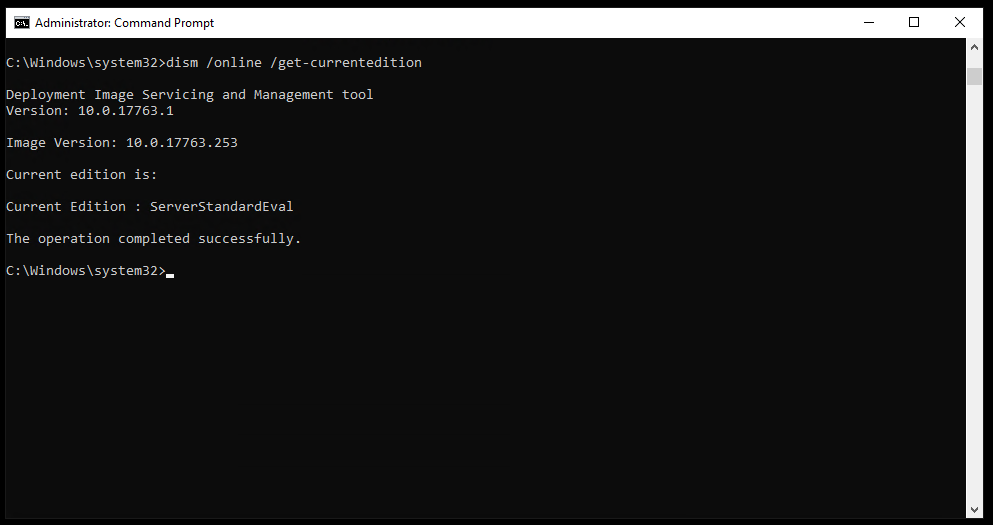
Unfortunately, that gives you an error and tells you to contact Microsoft. Not really helpful error message if you ask me. I'm now checking to make sure my Windows 2019 image is actually Evaluation version. You can do that with DISM command.
dism /online /Get-CurrentEdition
If you're wondering what ONLINE stands for, it's actually current Windows you're logged into. DISM is a primary tool to work with images, therefore, most commands don't require an ONLINE switch. But in our case, we need it to work with our current running Windows.
As I wasn't the person that downloaded this Windows Server 2019 I decided to download a newly rereleased evaluation version of Windows Server 2019 Evaluation that's available on Microsoft website. An hour later, a new virtual machine is set up and everything seems different.
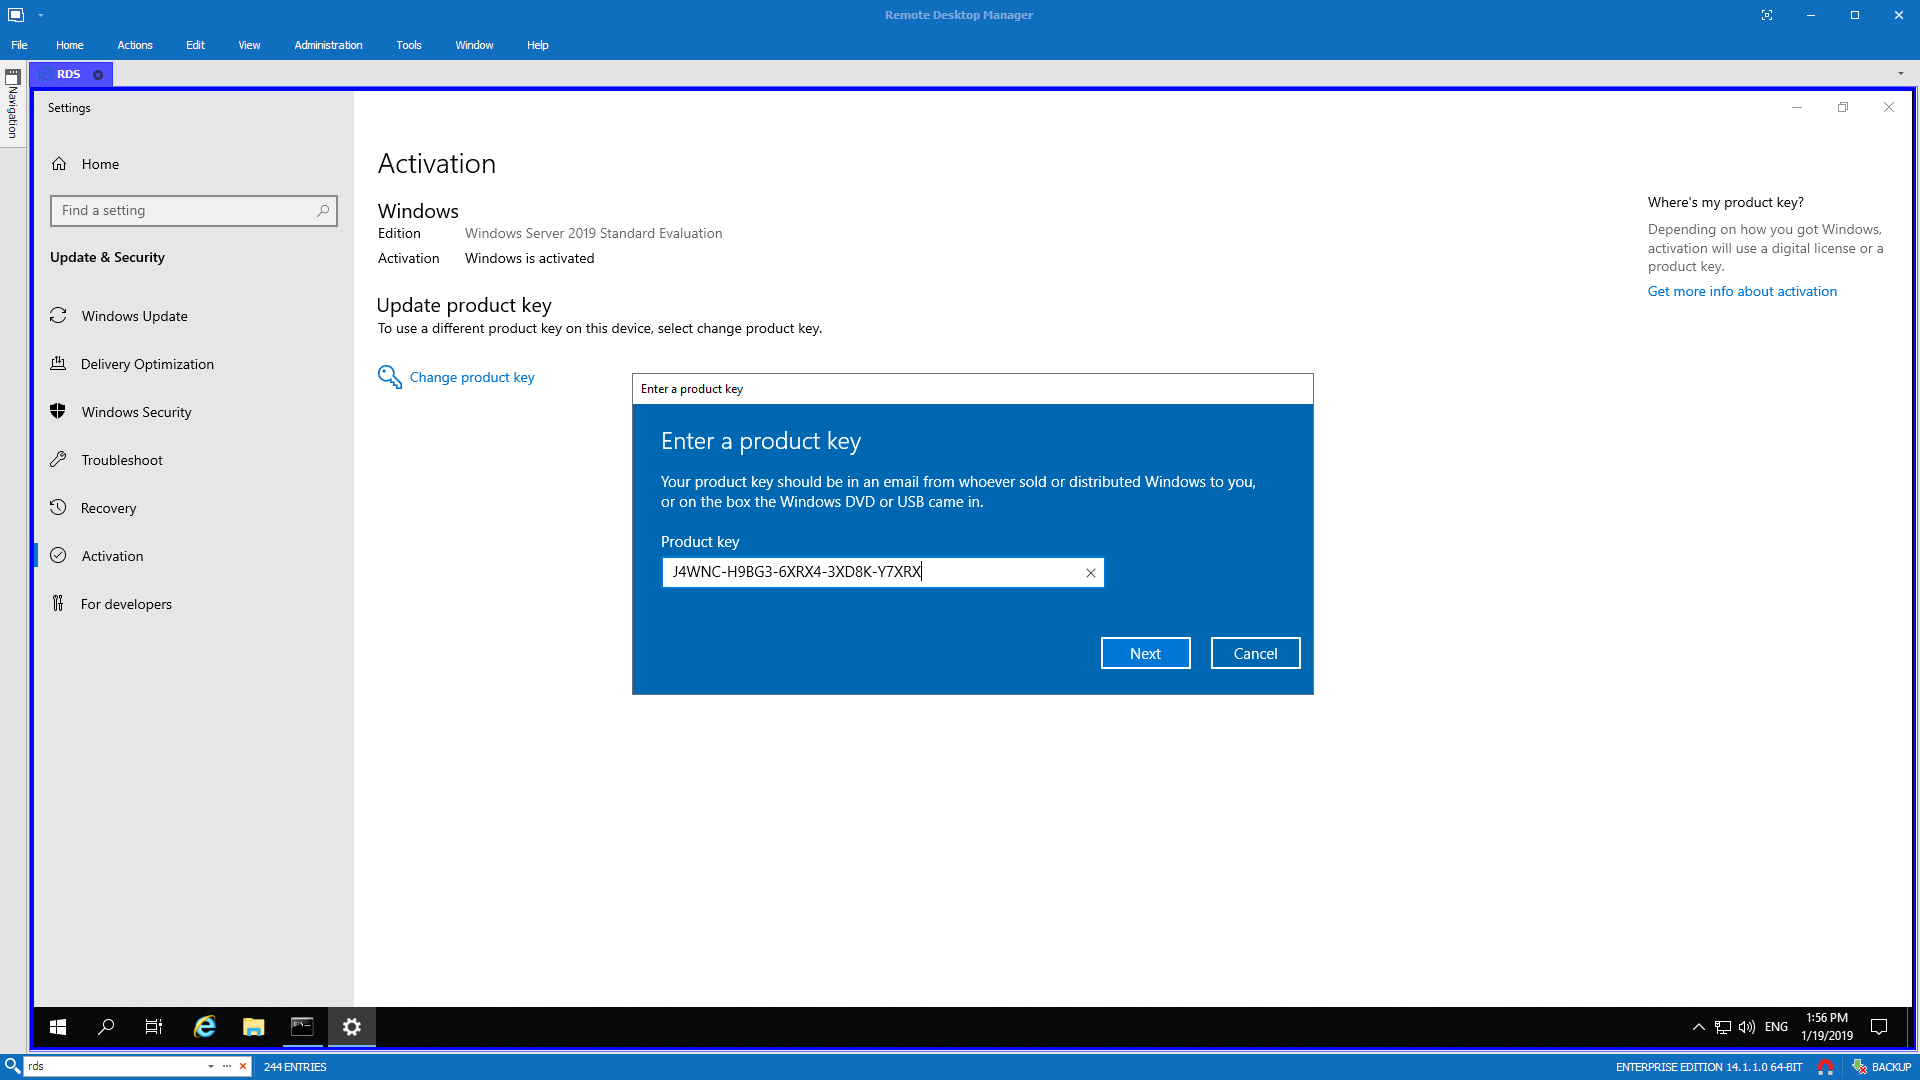
Newly downloaded Windows Server 2019 is already valid for 180 days. I don't have to do the above steps (which will be still useful for you if you will want to rearm your testing environment again and again) to rearm my license so it's definitely something else in my case then new standard approach to activating Windows. I've decided to try and export license key from the newly installed Windows and use it to activate the old, broken one.
With no luck, at all.
I've even tried to activate it command line style naively expecting different results
C:\Windows\system32>dism /online /Set-Edition:ServerStandardEval /AcceptEula /ProductKey:J4WNC-H9BG3-6XRX4-3XD8K-Y7XRX

Deployment Image Servicing and Management tool
Version: 10.0.17763.1

Image Version: 10.0.17763.253

Starting to update components...
Starting to install product key...
Finished installing product key.

Starting to apply edition-specific settings...

Error: 1168

An error occurred while applying target edition component settings. The upgrade cannot proceed.
For more information, review the log file.

The DISM log file can be found at C:\Windows\Logs\DISM\dism.log
I did fail to activate this instance and decided to start from scratch. Hope you do learn on my mistakes and have better luck then I do.
💡 Steps that can potentially work for you – Sent by Wilko
- Install Windows Server 2019 Public Key using (DISM /Online /Set-Edition:ServerStandard /ProductKey:N69G4-B89J2-4G8F4-WWYCC-J464C /AcceptEula)
- Then change that Public Windows Server 2019 Key to a Retail 2019 Server key MAK key that you've purchased
💡 Steps that can potentially work for you – Send by Paul Boyce
While for me below steps didn't work, maybe in your case those will help out (thanks Paul Boyce).
- Click Start and type CMD in the Start Search menu
- Right Click and choose Run as administrator
- To remove any existing product key (in case you used a trial key), enter and run the command slmgr.vbs /upk
- Clear the product key from the registry by running slmgr.vbs /cpky
- To enter your new product key, use the command: slmgr.vbs /ipk xxxxx-xxxxx-xxxxx-xxxxx where the x is your actual product key
- Lastly, activate Windows by entering the command slmgr.vbs /ato
- Windows is now activated.
💡 slmgr.vbs command line arguments
Below you can find an explanation for each and every switch slmgr.vbs offers to you.
Windows Software Licensing Management Tool Usage: slmgr.vbs [MachineName [User Password]] [

