Apple new system Mac OS X El Capitan brings its newest and the most secure system protection on the market. Or so they say…
System Integrity Protection — also known as “rootless” — functions by restricting the root account so that the operating system kernel puts checks on the root user’s access and won’t allow it to do certain things, such as modify protected locations or inject code into protected system processes.
All kernel extensions must be signed, and you can’t disable System Integrity Protection from within Mac OS X itself. Applications with elevated root permissions can no longer tamper with system files. While it's a good thing for a standard user it's not necessary a win-win scenario for those more advanced users who like to play with their systems or install plugins that require a bit more permissions.
💡 Solution
Managing SIP requires you to boot into recovery mode by restarting your Mac OS X El Capitan and using terminal commands to control the System Integrity Protection.
To boot into recovery mode, restart your Mac OS X and hold Command+R until system enters Recovery Mode. By doing this you enter the recovery environment which features an ability to disable SIP without too much effort.
While inside Recovery Mode click the “Utilities” menu and select “Terminal” to open a terminal window.
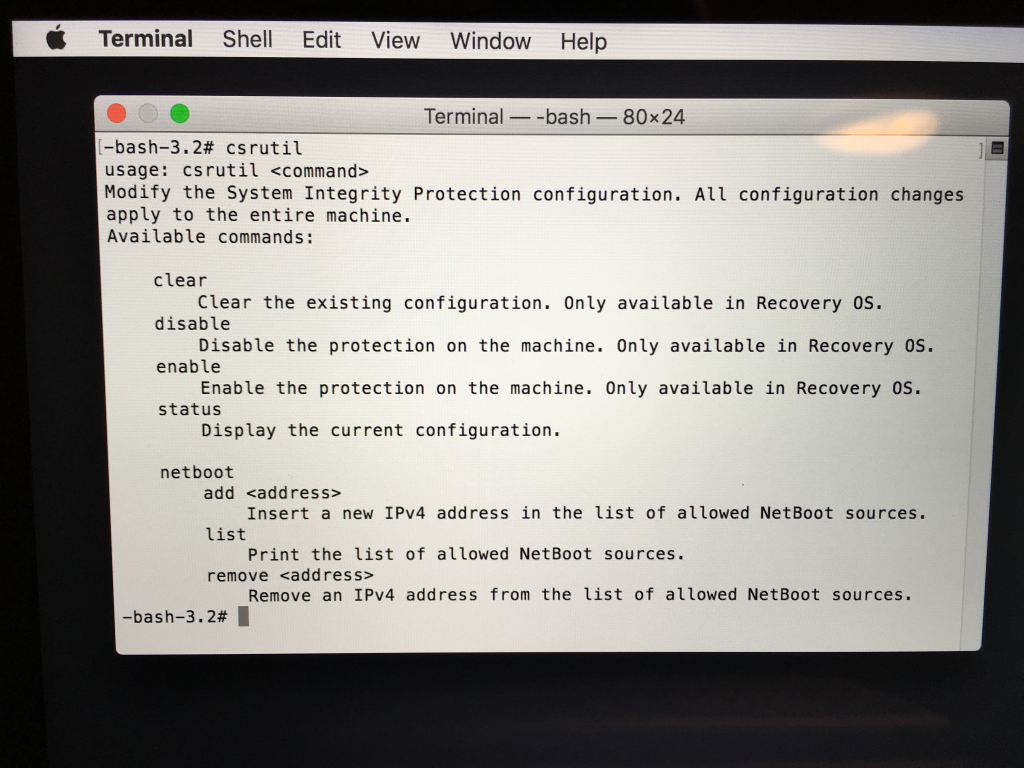
The command that does all the heavy lifting is called csrutil. While it's available for execution within normal mode commands that we will be using require Recovery OS.

usage: csrutil <command>
Modify the System Integrity Protection configuration. All configuration changes apply to the entire machine.
Available commands:
clear
Clear the existing configuration. Only available in Recovery OS.
disable
Disable the protection on the machine. Only available in Recovery OS.
enable
Enable the protection on the machine. Only available in Recovery OS.
status
Display the current configuration.
netboot
add <address>
Insert a new IPv4 address in the list of allowed NetBoot sources.
list
Print the list of allowed NetBoot sources.
remove <address>
Remove an IPv4 address from the list of allowed NetBoot sources.
Type the following command into the terminal and execute following command to verify the status of System Integrity Protection.
csrutil status
System Integrity Protection status: enabled.
or
csrutil status
System Integrity Protection status: disabled.

After verifying whether System Integrity Protection is enabled or not you can make your decision and either disable or enable SIP.
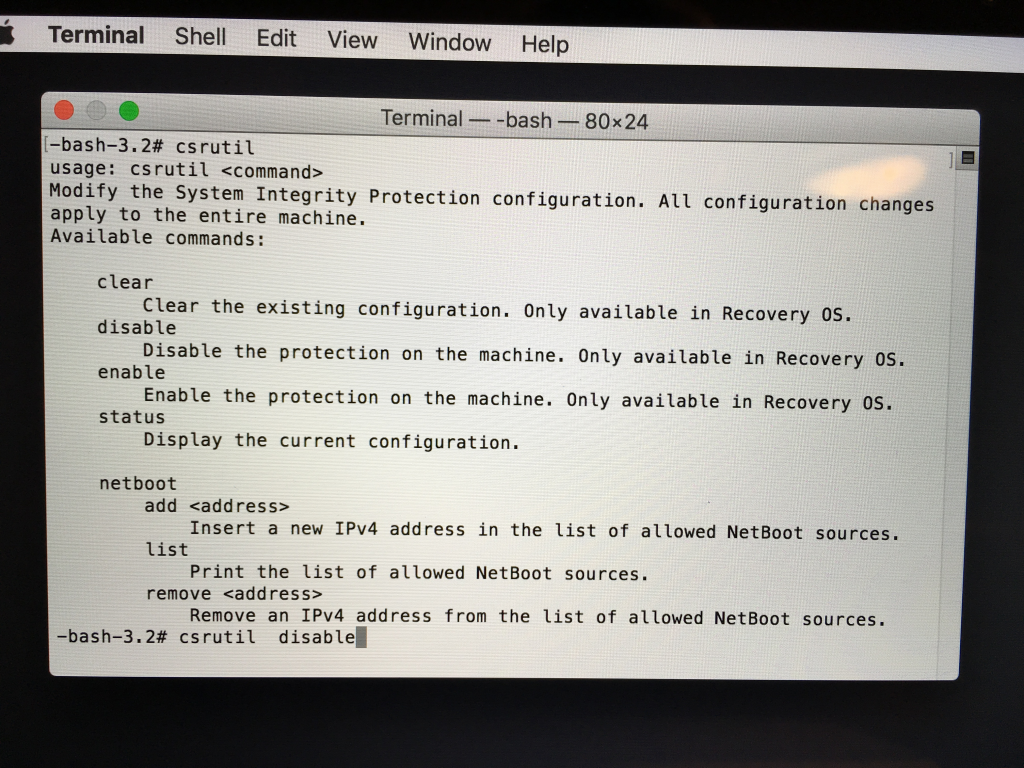
To disable SIP just type in the command and press ENTER
csrutil disable
Successfully disabled System Integrity Protection. Please restart the machine for the changes to take effect.
Restart your Mac OS X El Capitan and your new System Integrity Protection setting will take effect. The root user will now have its full, unrestricted access to the entire operating system and every file, just like it used to in Mac OS X Yosemite.
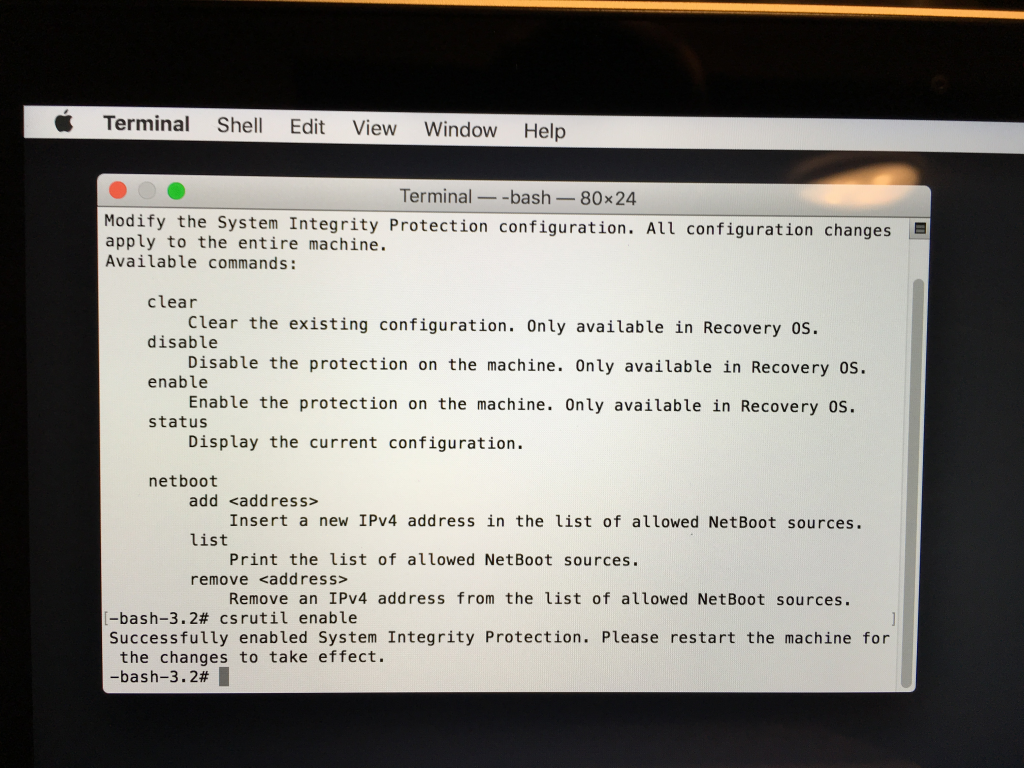
To enable SIP back just type in the command and press ENTER
csrutil enable
Successfully enabled System Integrity Protection. Please restart the machine for the changes to take effect.
And you're ready to go „rootless” again.