Office 365 is great product. We use it ourselves for our own needs but we also suggest it to our customers or do some configuring for them. One of the last steps migration of emails from old account to new one.
❗ Problem Description
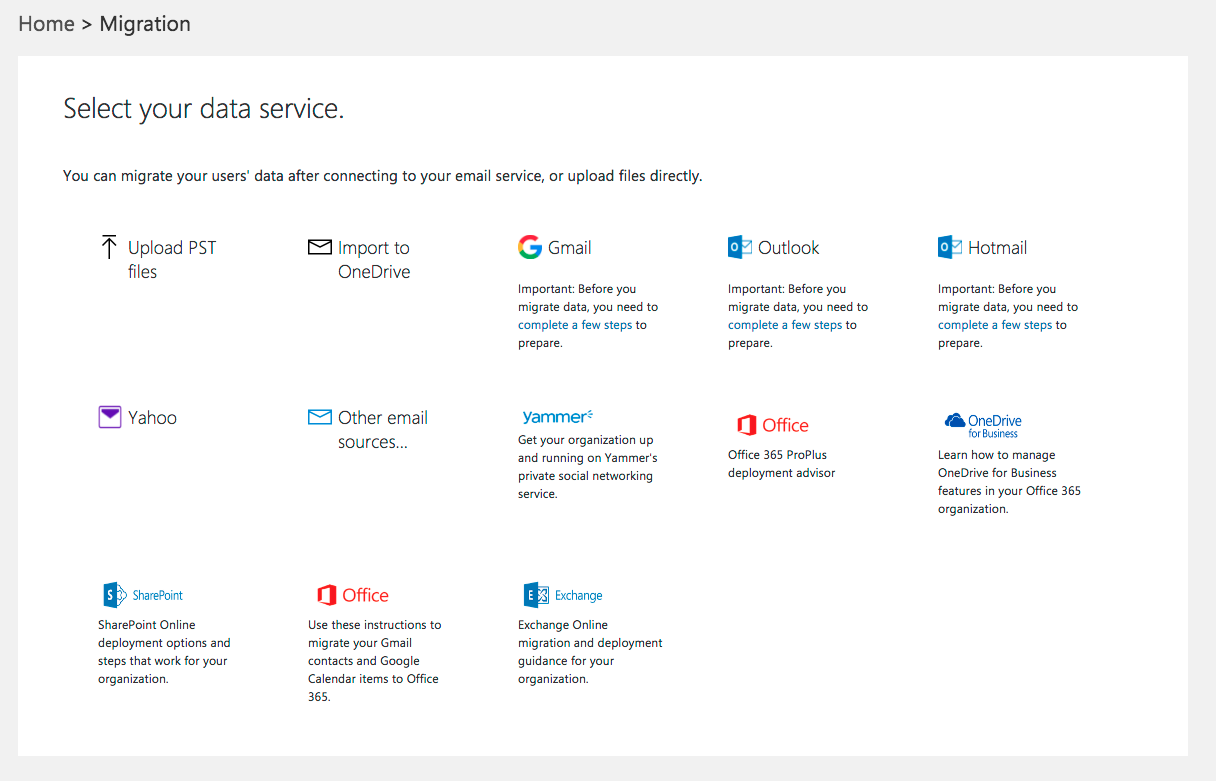
While Microsoft has prepared Data Migration wizards for multiple options none of those options were good enough for us. While IMAP is always good to migrate from Exchange 2010, Exchange 2013, Exchange 2016 or Office 365 Exchange in our case IMAP failed. Most likely some broken email was making a problem.
Since our Client had only couple of mailboxes to migrate from Office 365 to Office 365 there's no problem to do it via Outlook using manual way. While it generates some work on the user it's one of the simplest solutions.
🔹 Solution – Setting up multiple Office 365 / Exchange Accounts in Outlook
To achieve our goal we need to setup two Office 365 accounts in Outlook. Since Outlook tends to complain when there are 2 exchange servers being configured directly from Outlook (especially via older version of Outlook 2010, Outlook 2013) it needs to be done via Control Panel.
Open Control Panel and make sure to view icons by Small icons (otherwise the Mail (32-bit) app may not be visible
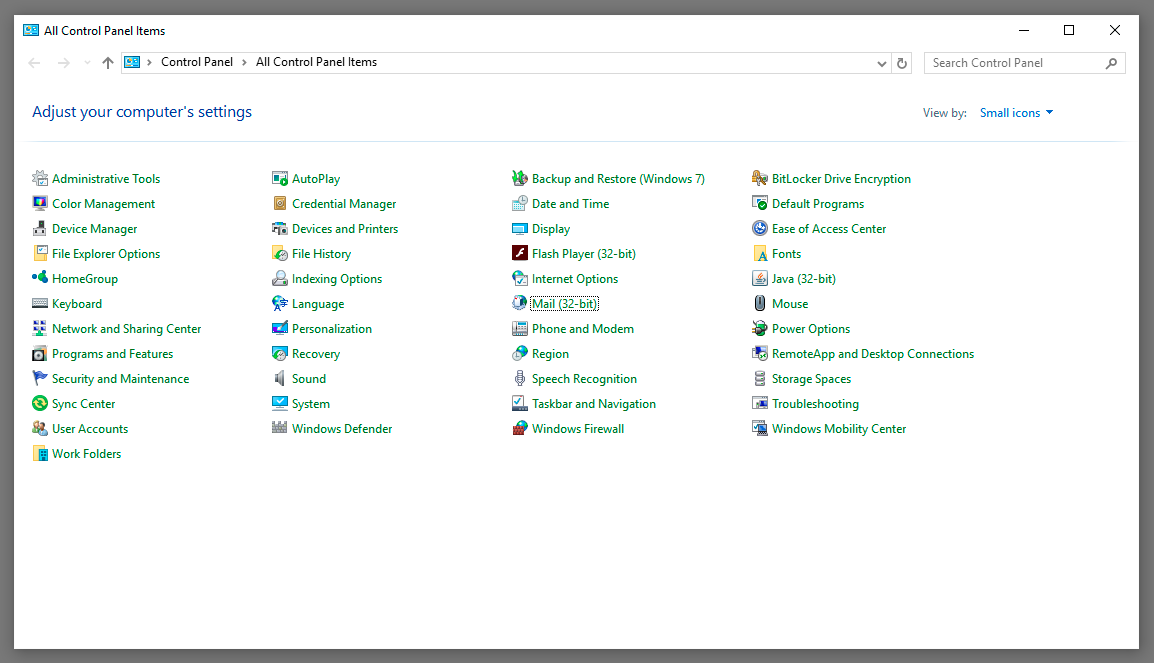
Choose Mail (32-bit)
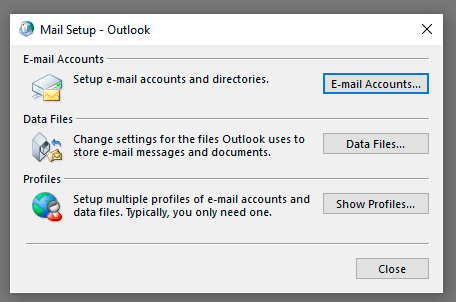
Choose E-mail Accounts

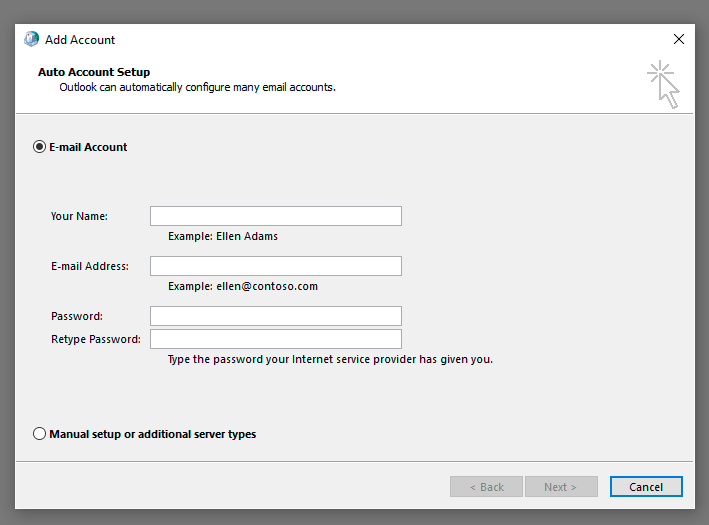
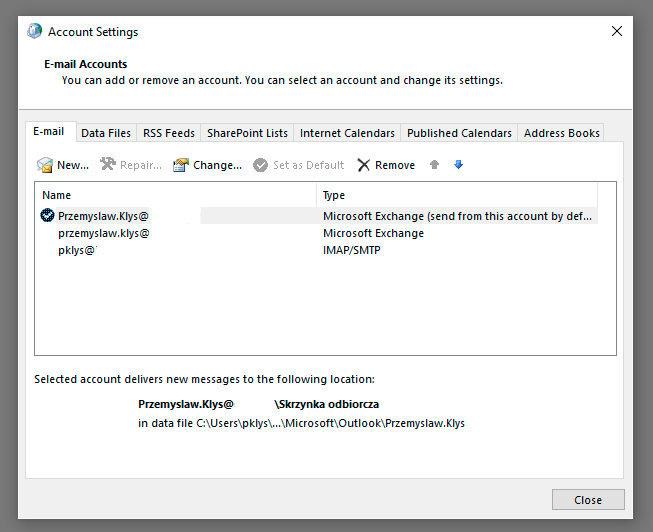
Depending on your configuration you may have multiple accounts there or just one. In my case I had 2 Exchange accounts and one IMAP account already setup. If you've just used Outlook for the first time you may need to choose New… option where you just follow the wizard and enter your name, email address and password.
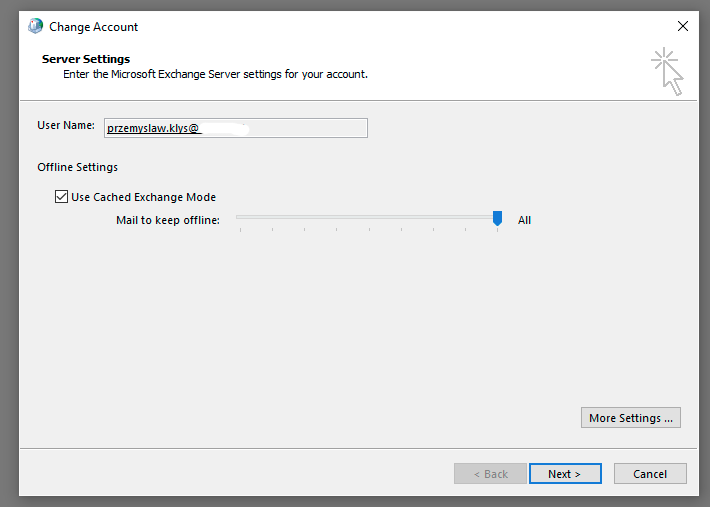
Since Office 365 autodiscover is usually setup correctly at this time Outlook shouldn't have any problems to configure new mailbox for Exchange. If you're using different Exchange server you may need to configure things manually. You can setup multiple Exchange or Office 365 accounts in Outlook this way. There's also one more thing you need to be aware of. By default Outlook chooses only small part of emails to be synchronized locally to Outlook. Since we want to migrate all emails we need to make sure all emails are available in Outlook. To do that we need to double click on our Exchange/Office 365 accounts (or choose Change) to open up additional settings.
Then we need to make sure Use cached Exchange Mode is selected and Mail to keep offline shows: All
After setting things up you simply close the Control Panel and open up Outlook.
🔹 Solution – Copying/Moving Office 365 / Exchange mail items between accounts
Depending if it's first setup or volume of the emails in mailboxes it may take a while for outlook to synchronize things locally. After we open Outlook we should have two Exchange (Office 365) accounts under each other. Now it's just matter of using Drag & Drop of all emails from Inbox, Sent Items, Archive, Junk Email and so on.
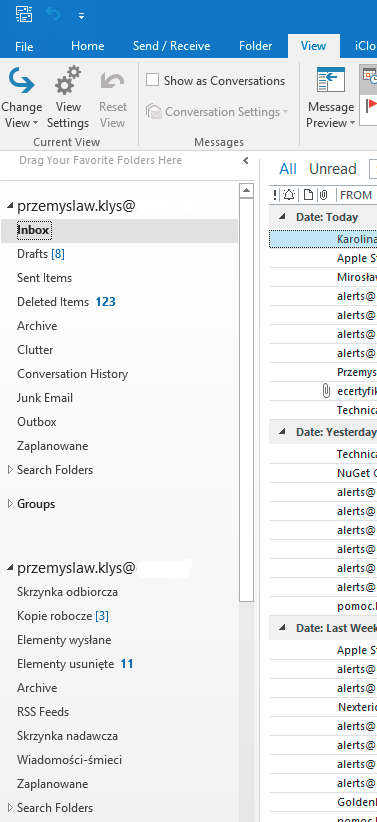
Don't forget to expand folders and copy them too. Important thing to remember here is to do it in batches and wait for synchronization to end. It's possible moving emails will take a while as Outlook needs to take them from one mailbox put it in another and then move it to server. So make sure you give it enough time before removing old mailbox from the new one. Good sign that everything is done is message All folders are up to date in the bottom right corner.
![]()
However make sure that same message applies after multiple Outlook restarts. We don't want to loose any e-mails do we?
🔹 Solution – Migrating Office 365 / Exchange calendar entries
Now that we are done with emails being transferred to our second Exchange account we can copy other stuff. Same Drag & Drop approach is required for other types of objects stored in Office 365 such as tasks, calendar and contacts. While contacts and tasks are fairly straight forward calendar looks a bit more complicated on first sight. Usually calendar view looks similar to this.
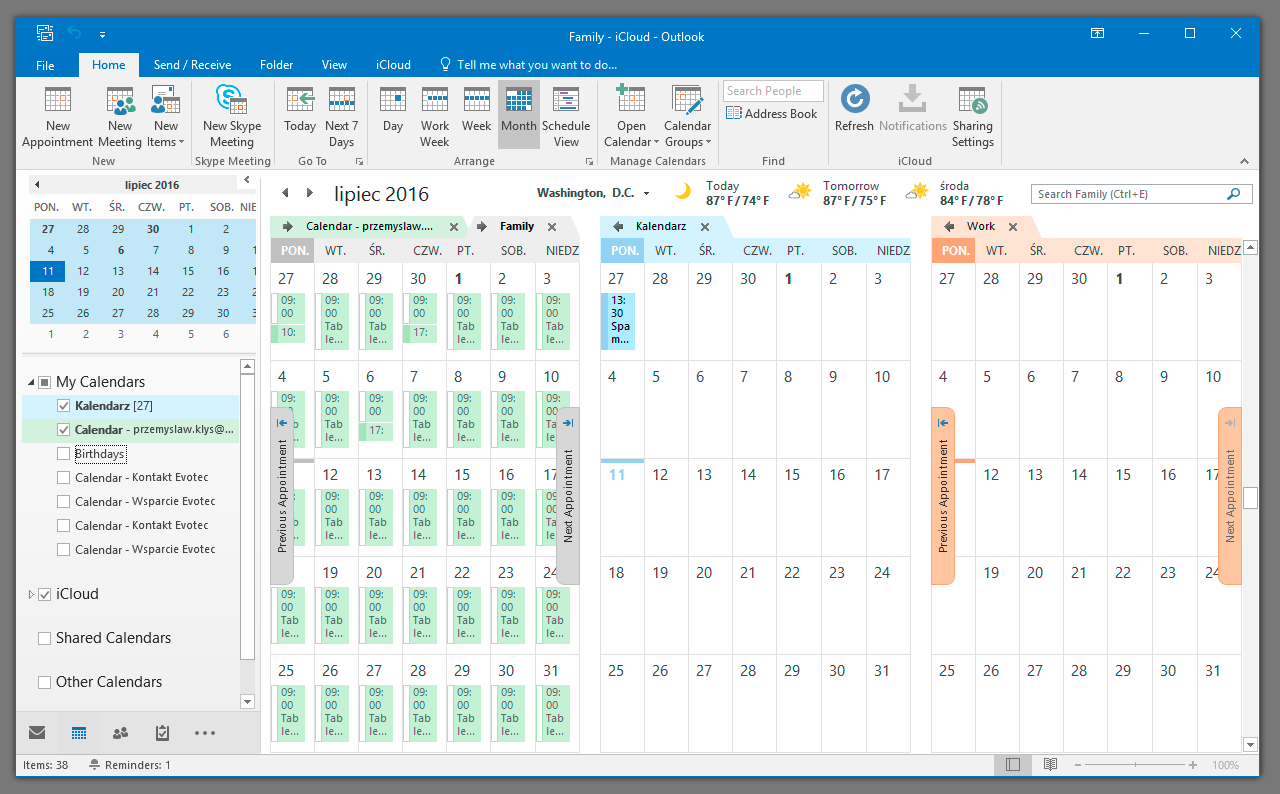
There are multiple calendar entries, multiple calendars and depending on how big schedule you choose there will be lots of information to choose from. Trick here is to change view to something that's easier to navigate for migration scenarios.
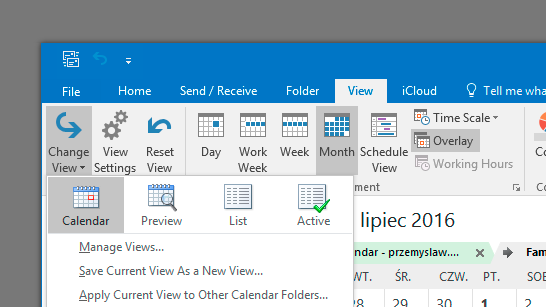
Go to View tab.

Choose Change View and choose List.
Now the list of entries should be harder to read but much easier to copy.
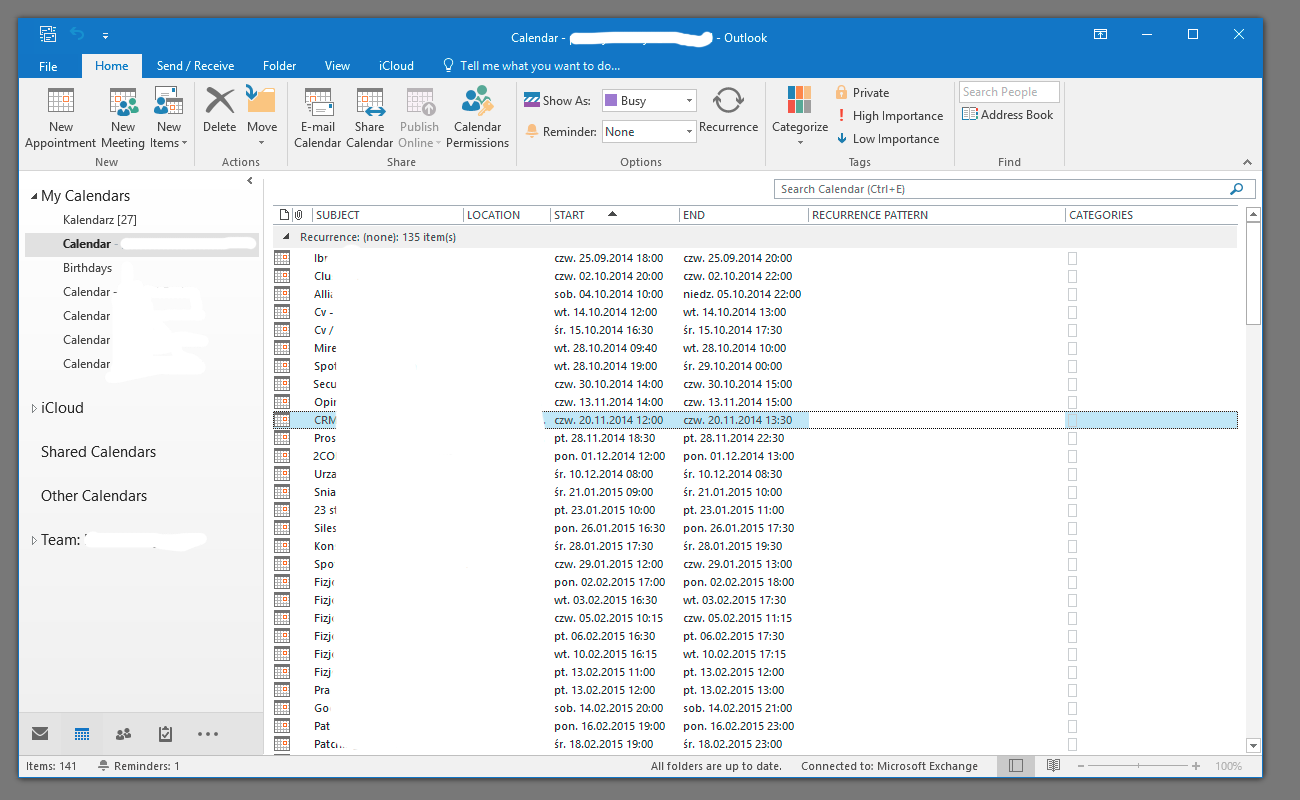
We can now simply select all entries by using Alt + A keyboard combination and drag and drop it to our second Office 365 / Exchange account. As before make sure that All folders are up to date after all calendar entries have been moved. Remember to move contacts and tasks items in the same way. Simply drag & drop then in correct places.